WPC (Wood Plastic Composite) wall panels have gained popularity as a versatile and stylish option for interior design.
One of the key advantages of these panels is their ease of installation, making them an ideal choice for DIY enthusiasts.
In this essay, we will explore the step-by-step process of installing WPC wall panels and discuss four key aspects that contribute to their stunning results.
I. Preparing for Installation: Tools and Materials
- Gather the Necessary Tools: Before starting the installation process, it’s important to gather the right tools.
- This typically includes a measuring tape, a level, a pencil, a saw, a drill, screws, and a screwdriver. Having these tools on hand will ensure a smooth installation process.
- Measure and Plan: Measure the wall area where you intend to install the WPC panels and plan the layout accordingly.
- Take into account any electrical outlets, switches, or obstacles on the wall that may require adjustments or customization during installation.
- Purchase Sufficient Materials: Calculate the number of WPC panels and additional accessories needed for your project, such as corner trims, edge profiles, and adhesive.
- It’s always advisable to purchase slightly more materials than needed to account for any errors or future replacements.
II. Installing WPC Wall Panels: Step-by-Step Guide
- Prepare the Wall Surface: Ensure that the wall surface is clean, dry, and free from any dust or debris. If necessary, patch any cracks or imperfections on the wall and allow them to dry before proceeding with the installation.
- Install the Starter Strip: Start by installing a starter strip at the bottom of the wall. This strip provides a level and secure base for the first row of WPC panels. Use a level to ensure the strip is straight and fix it to the wall using screws or adhesive.
- Install the First Row of Panels: Begin installing the first row of WPC panels by aligning them with the starter strip. Secure each panel to the wall using screws or adhesive, ensuring they are level and properly aligned with each other. Use a saw to cut panels as needed to fit the wall dimensions.
- Continue with Subsequent Rows: Once the first row is installed, continue with the subsequent rows, overlapping the panels to create a seamless and uniform appearance. Use a level and measuring tape to ensure accuracy and precision during installation. Trim the panels as necessary to fit corners or edges.
- Install Corner Trims and Edge Profiles: To achieve a polished look and protect the edges of the panels, install corner trims and edge profiles. These accessories provide a clean and finished appearance while also ensuring the longevity of the installation.
- Finishing Touches: Once all the panels are installed, inspect the wall for any loose panels or areas that may require adjustment. Tighten any screws if necessary and make sure the panels are securely in place. Clean the panels with a mild soap and water solution to remove any residue or marks.
III. Advantages of DIY Installation with WPC Wall Panels
- Cost Savings: DIY installation of WPC wall panels can save significant costs compared to hiring a professional installer. By undertaking the installation yourself, you can avoid labor charges and have more control over your budget.
- Flexibility and Convenience: DIY installation allows for flexibility in terms of scheduling and working at your own pace. It provides the convenience of completing the project at your convenience and according to your personal preferences.
- Personal Satisfaction: Installing WPC wall panels yourself can be a rewarding experience. It allows you to take pride in your own work and enjoy the transformation of your space. The sense of accomplishment and personal touch adds to the overall satisfaction of the project.
- Customization and Creativity: DIY installation provides the opportunity for customization and creativity. You can choose different panel colors, patterns, and textures to achieve a unique and personalized design. DIY also allows for experimentation and the freedom to adjust the installation to meet your specific aesthetic goals.
IV.Aesthetic Appeal: Enhancing Outdoor Design
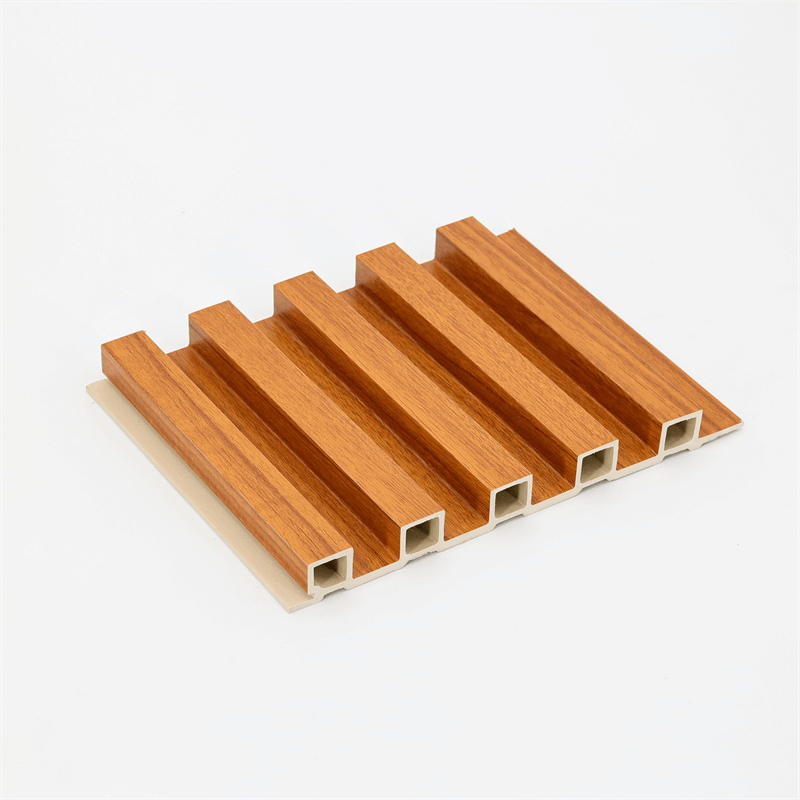
- Natural Wood Look: WPC wall panels are designed to mimic the look of natural wood. They capture the beauty and texture of wood grain, offering a warm and inviting aesthetic for outdoor spaces. Whether you prefer the rustic charm of weathered wood or the sleek elegance of smooth finishes, there is a wide range of WPC panel options to suit your design preferences.
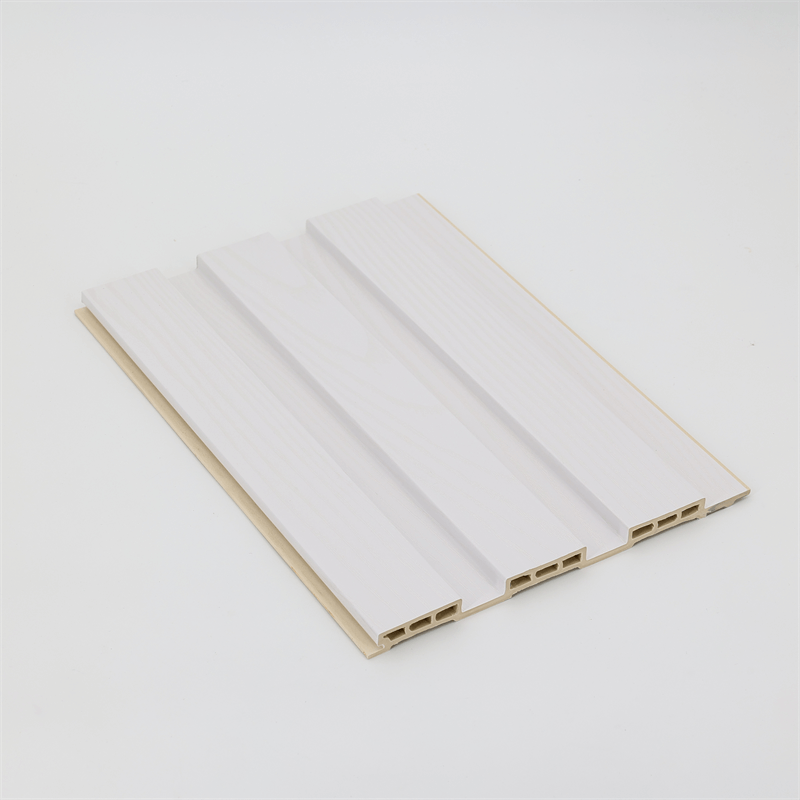
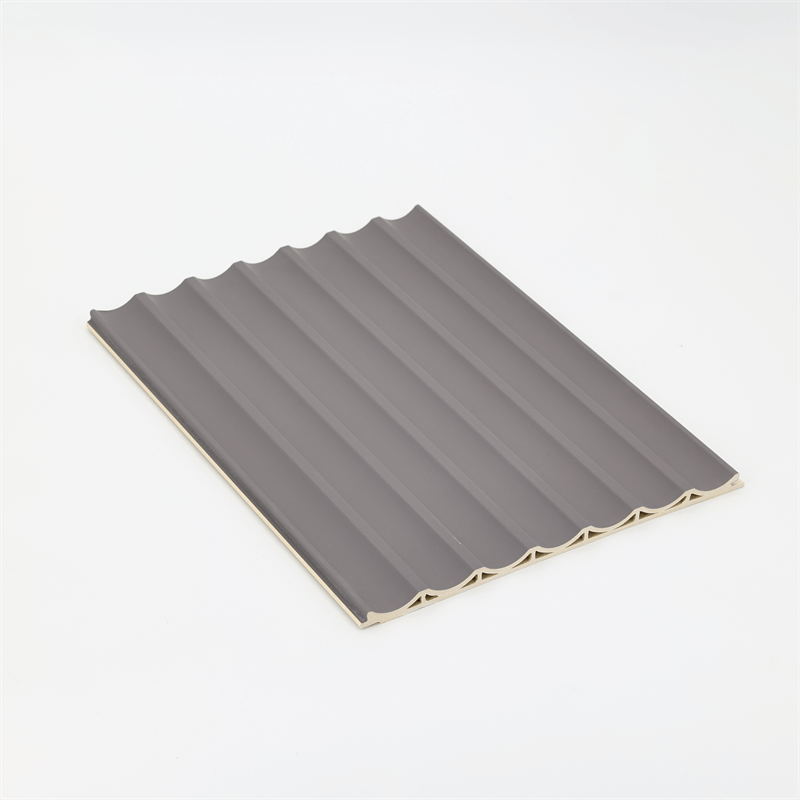
- Color Variations: WPC panels come in various colors and finishes, allowing for customization and flexibility in outdoor design. From earthy tones that blend seamlessly with natural surroundings to vibrant hues that make a bold statement, there is a color palette to suit every outdoor aesthetic.
- Design Versatility: WPC wall panels offer design versatility, allowing for creative and unique outdoor spaces. They can be easily cut and shaped to create customized patterns, textures, and even 3D effects. Whether you want a contemporary geometric design or a traditional pattern, WPC panels provide endless possibilities for adding visual interest to outdoor walls.
- Integration with Other Materials: WPC wall panels can be seamlessly integrated with other outdoor materials, such as stone, concrete, or metal. This allows for the creation of visually striking combinations and contrasts, adding depth and dimension to the outdoor design.
Installing WPC wall panels can be an exciting and rewarding DIY project that yields stunning results.
With the right tools, materials, and a step-by-step guide, you can achieve a professional-looking installation that enhances the aesthetics of your space.
The advantages of DIY installation, including cost savings, flexibility, personal satisfaction, and creative freedom, make WPC wall panels an appealing choice for homeowners and DIY enthusiasts.
So, roll up your sleeves, gather your tools, and embark on a journey of transforming your space with easy installation and stunning results using WPC wall panels.